Building A Room Detector For IoT Devices On Mac OS

Email Newsletter
Weekly tips on front-end & UX.
Trusted by 200,000+ folks.


 Flexible CMS. Headless & API 1st
 Register!
Knowing which room you’re in enables various IoT applications — from turning on the light to changing TV channels. So, how can we detect the moment you and your phone are in the kitchen, or bedroom, or living room? With today’s commodity hardware, there are a myriad of possibilities:
One solution is to equip each room with a bluetooth device. Once your phone is within range of a bluetooth device, your phone will know which room it is, based on the bluetooth device. However, maintaining an array of Bluetooth devices is significant overhead — from replacing batteries to replacing dysfunctional devices. Additionally, proximity to the Bluetooth device is not always the answer: if you’re in the living room, by the wall shared with the kitchen, your kitchen appliances should not start churning out food.
Another, albeit impractical, solution is to use GPS. However, keep in mind hat GPS works poorly indoors in which the multitude of walls, other signals, and other obstacles wreak havoc on GPS’s precision.
Our approach instead is to leverage all in-range WiFi networks — even the ones your phone is not connected to. Here is how: consider the strength of WiFi A in the kitchen; say it is 5. Since there is a wall between the kitchen and the bedroom, we can reasonably expect the strength of WiFi A in the bedroom to differ; say it is 2. We can exploit this difference to predict which room we’re in. What’s more: WiFi network B from our neighbor can only be detected from the living room but is effectively invisible from the kitchen. That makes prediction even easier. In sum, the list of all in-range WiFi gives us plentiful information.
This method has the distinct advantages of:
- not requiring more hardware;
- relying on more stable signals like WiFi;
- working well where other techniques such as GPS are weak.
The more walls the better, as the more disparate the WiFi network strengths, the easier the rooms are to classify. You will build a simple desktop app that collects data, learns from the data, and predicts which room you’re in at any given time.
Prerequisites
For this tutorial, you will need a Mac OSX. Whereas the code can apply to any platform, we will only provide dependency installation instructions for Mac.
- Mac OSX
- Homebrew, a package manager for Mac OSX. To install, copy-and-paste the command at brew.sh
- Installation of NodeJS 10.8.0+ and npm
- Installation of Python 3.6+ and pip. See the first 3 sections of “How To Install virtualenv, Installing With pip, and Managing Packages”
Step 0: Setup Work Environment
Your desktop app will be written in NodeJS. However, to leverage more efficient computational libraries like numpy, the training and prediction code will be written in Python. To start, we will setup your environments and install dependencies. Create a new directory to house your project.
mkdir ~/riot
Navigate into the directory.
cd ~/riot
Use pip to install Python’s default virtual environment manager.
sudo pip install virtualenv
Create a Python3.6 virtual environment named riot.
virtualenv riot --python=python3.6
Activate the virtual environment.
source riot/bin/activate
Your prompt is now preceded by (riot). This indicates we have successfully entered the virtual environment. Install the following packages using pip:
numpy: An efficient, linear algebra libraryscipy: A scientific computing library that implements popular machine learning models
pip install numpy==1.14.3 scipy
==1.1.0
With the working directory setup, we will start with a desktop app that records all WiFi networks in-range. These recordings will constitute training data for your machine learning model. Once we have data on hand, you will write a least squares classifier, trained on the WiFi signals collected earlier. Finally, we will use the least squares model to predict the room you’re in, based on the WiFi networks in range.
Step 1: Initial Desktop Application
In this step, we will create a new desktop application using Electron JS. To begin, we will instead the Node package manager npm and a download utility wget.
brew install npm wget
To begin, we will create a new Node project.
npm init
This prompts you for the package name and then the version number. Hit ENTER to accept the default name of riot and default version of 1.0.0.
package name: (riot)
version: (1.0.0)
This prompts you for a project description. Add any non-empty description you would like. Below, the description is room detector
description: room detector
This prompts you for the entry point, or the main file to run the project from. Enter app.js.
entry point: (index.js) app.js
This prompts you for the test command and git repository. Hit ENTER to skip these fields for now.
test command:
git repository:
This prompts you for keywords and author. Fill in any values you would like. Below, we use iot, wifi for keywords and use John Doe for the author.
keywords: iot,wifi
author: John Doe
This prompts you for the license. Hit ENTER to accept the default value of ISC.
license: (ISC)
At this point, npm will prompt you with a summary of information so far. Your output should be similar to the following.
{
  "name": "riot",
  "version": "1.0.0",
  "description": "room detector",
  "main": "app.js",
  "scripts": {
    "test": "echo \"Error: no test specified\" && exit 1"
  },
  "keywords": [
    "iot",
    "wifi"
  ],
  "author": "John Doe",
  "license": "ISC"
}
Hit ENTER to accept. npm then produces a package.json. List all files to double-check.
ls
This will output the only file in this directory, along with the virtual environment folder.
package.json
riot
Install NodeJS dependencies for our project.
npm install electron --global  # makes electron binary accessible globally
npm install node-wifi --save
Start with main.js from Electron Quick Start, by downloading the file, using the below. The following -O argument renames main.js to app.js.
wget https://raw.githubusercontent.com/electron/electron-quick-start/master/main.js -O app.js
Open app.js in nano or your favorite text editor.
nano app.js
On line 12, change index.html to static/index.html, as we will create a directory static to contain all HTML templates.
function createWindow () {
  // Create the browser window.
  win = new BrowserWindow({width: 1200, height: 800})

  // and load the index.html of the app.
  win.loadFile('static/index.html')

  // Open the DevTools.
Save your changes and exit the editor. Your file should match the source code of the app.js file. Now create a new directory to house our HTML templates.
mkdir static
Download a stylesheet created for this project.
wget https://raw.githubusercontent.com/alvinwan/riot/master/static/style.css?token=AB-ObfDtD46ANlqrObDanckTQJ2Q1Pyuks5bf79PwA%3D%3D -O static/style.css
Open static/index.html in nano or your favorite text editor. Start with the standard HTML structure.
<!DOCTYPE html>
  <html>
    <head>
      <meta charset="UTF-8">
      <title>Riot | Room Detector</title>
    </head>
    <body>
      <main>
      </main>
    </body>
  </html>
Right after the title, link the Montserrat font linked by Google Fonts and stylesheet.
<title>Riot | Room Detector</title>
  <!-- start new code -->
  <link href="https://fonts.googleapis.com/css?family=Montserrat:400,700" rel="stylesheet">
  <link href="style.css" rel="stylesheet">
  <!-- end new code -->
</head>
Between the main tags, add a slot for the predicted room name.
<main>
  <!-- start new code -->
  <p class="text">I believe you’re in the</p>
  <h1 class="title" id="predicted-room-name">(I dunno)</h1>
  <!-- end new code -->
</main>
Your script should now match the following exactly. Exit the editor.
<!DOCTYPE html>
  <html>
    <head>
      <meta charset="UTF-8">
      <title>Riot | Room Detector</title>
      <link href="https://fonts.googleapis.com/css?family=Montserrat:400,700" rel="stylesheet">
      <link href="style.css" rel="stylesheet">
    </head>
    <body>
      <main>
        <p class="text">I believe you’re in the</p>
        <h1 class="title" id="predicted-room-name">(I dunno)</h1>
      </main>
    </body>
  </html>
Now, amend the package file to contain a start command.
nano package.json
Right after line 7, add a start command that’s aliased to electron .. Make sure to add a comma to the end of the previous line.
"scripts": {
  "test": "echo \"Error: no test specified\" && exit 1",
  "start": "electron ."
},
Save and exit. You are now ready to launch your desktop app in Electron JS. Use npm to launch your application.
npm start
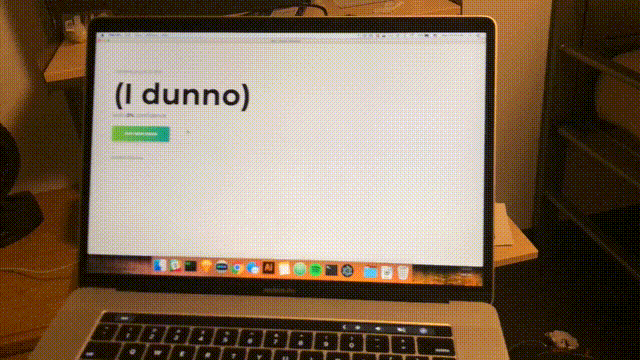
Your desktop application should match the following.
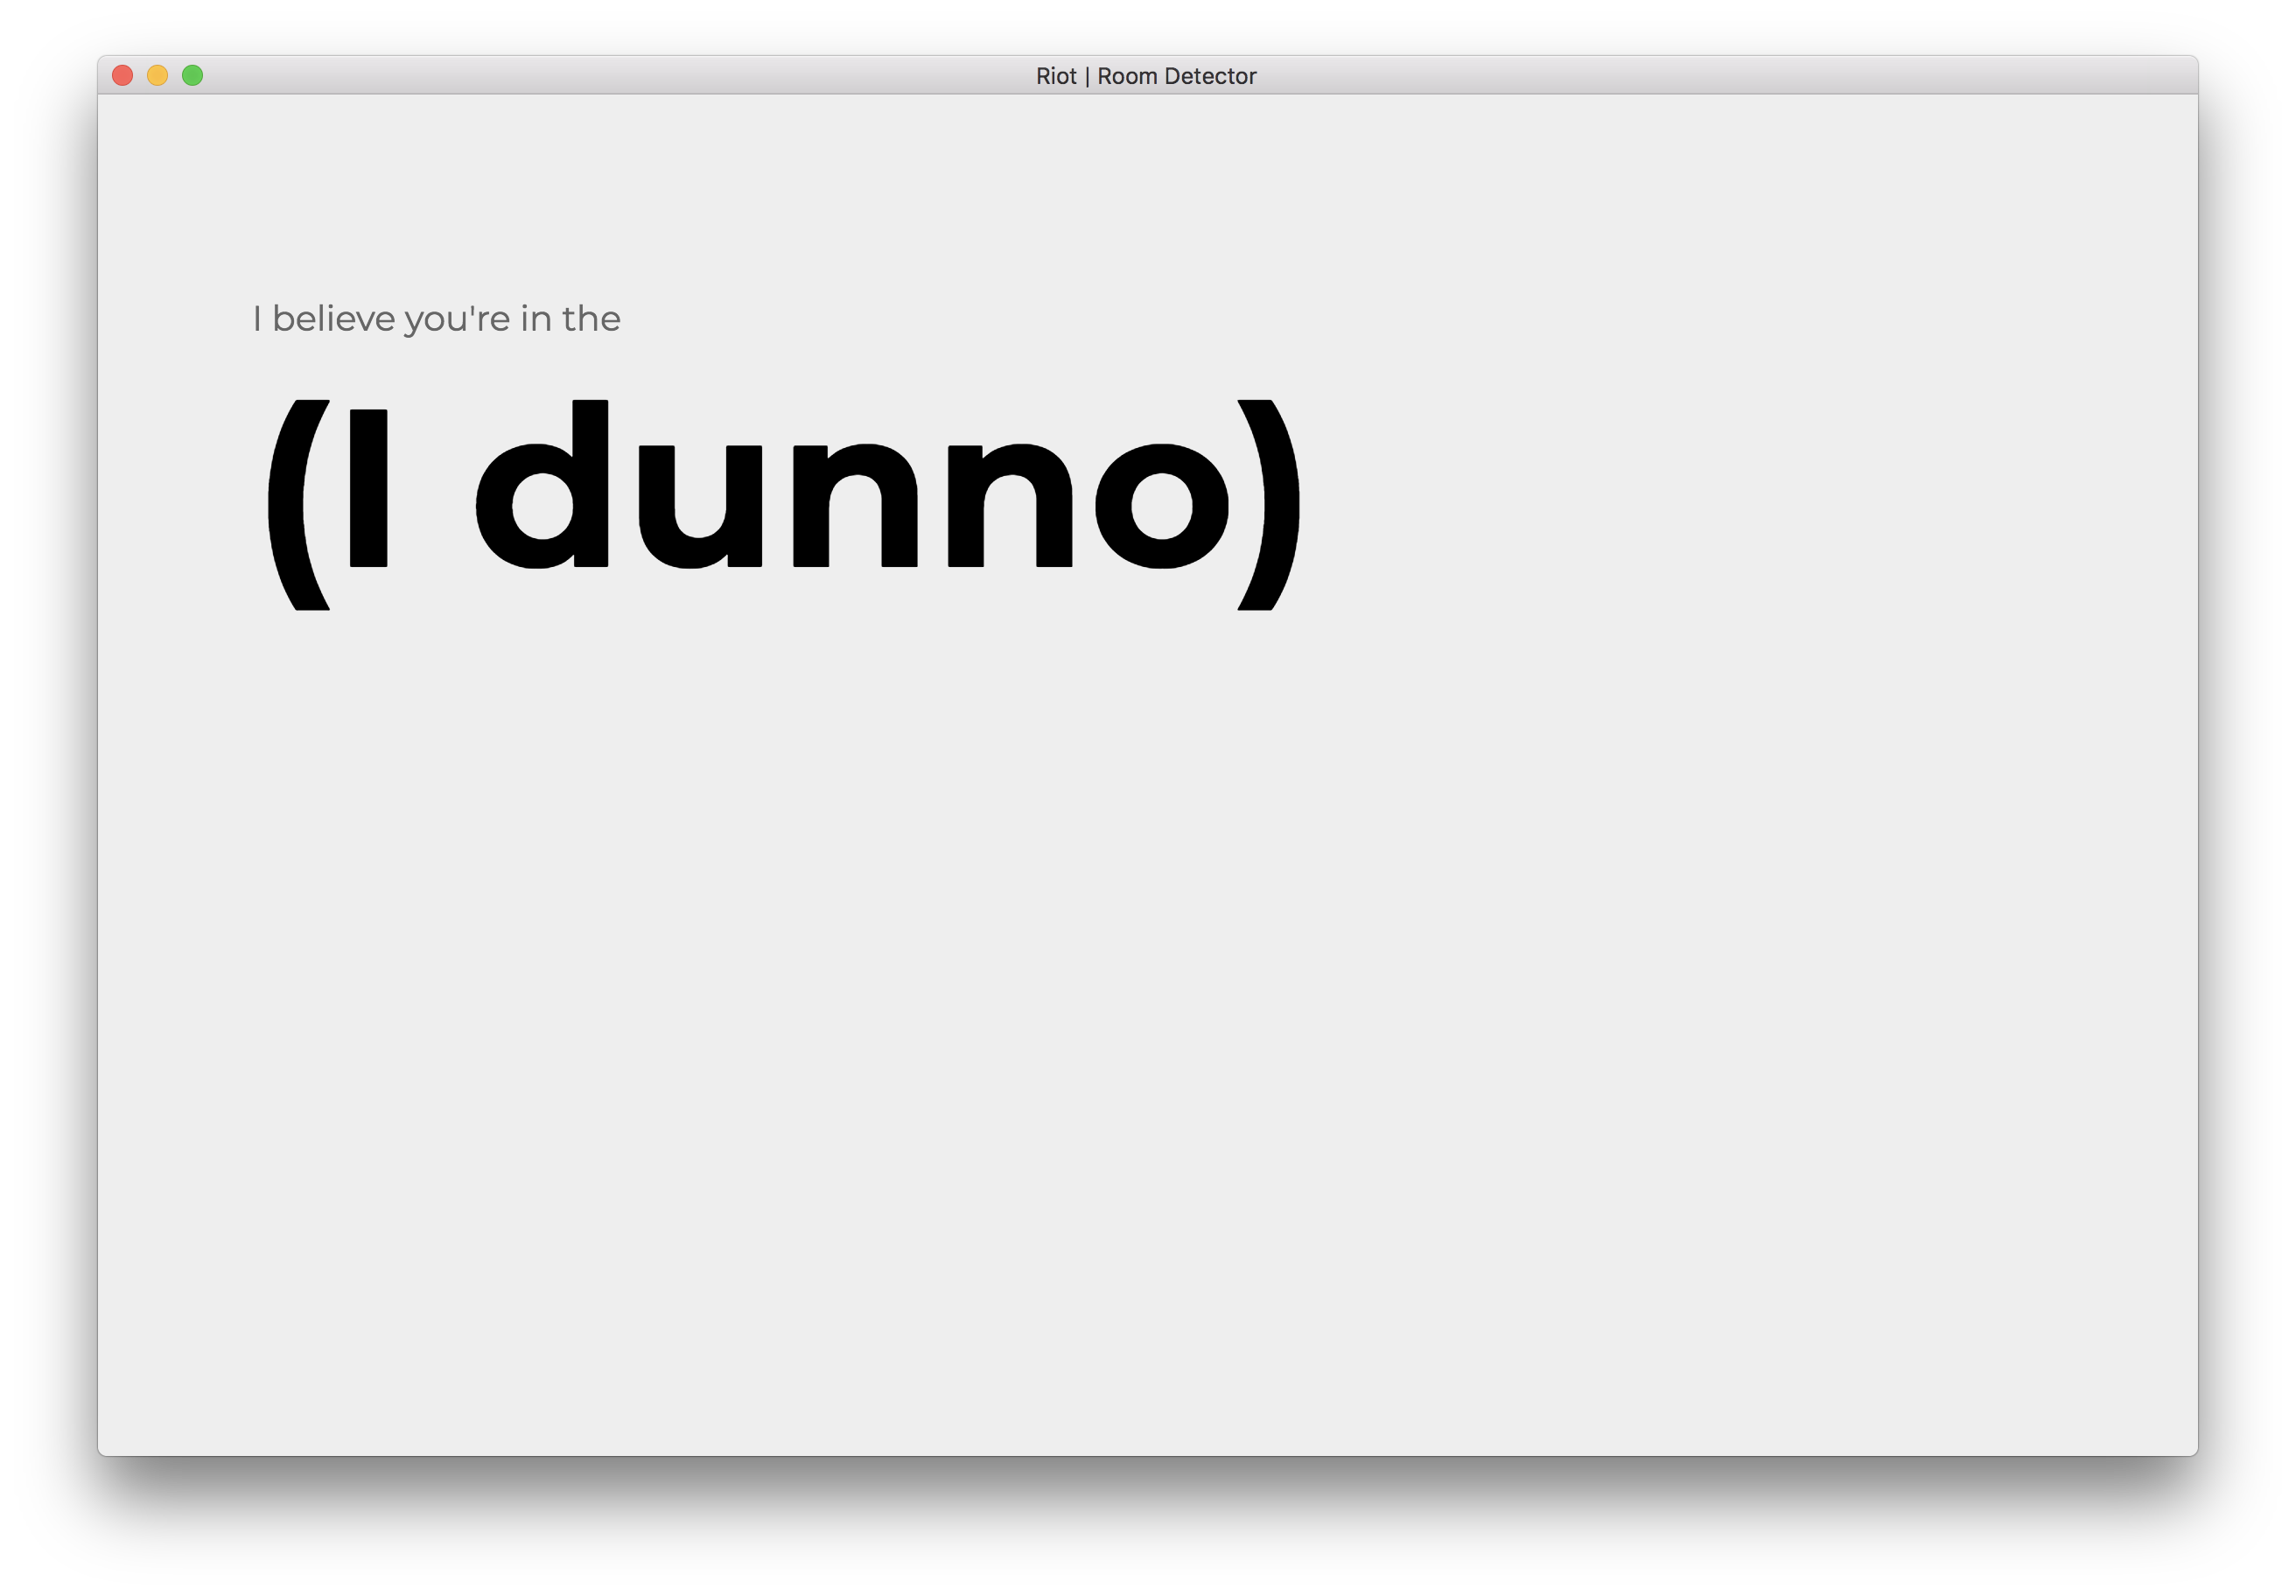
This completes your starting desktop app. To exit, navigate back to your terminal and CTRL+C. In the next step, we will record wifi networks, and make the recording utility accessible through the desktop application UI.
Step 2: Record WiFi Networks
In this step, you will write a NodeJS script that records the strength and frequency of all in-range wifi networks. Create a directory for your scripts.
mkdir scripts
Open scripts/observe.js in nano or your favorite text editor.
nano scripts/observe.js
Import a NodeJS wifi utility and the filesystem object.
var wifi = require('node-wifi');
var fs = require('fs');
Define a record function that accepts a completion handler.
/**
 * Uses a recursive function for repeated scans, since scans are asynchronous.
 */
function record(n, completion, hook) {
}
Inside the new function, initialize the wifi utility. Set iface to null to initialize to a random wifi interface, as this value is currently irrelevant.
function record(n, completion, hook) {
    wifi.init({
        iface : null
    });
}
Define an array to contain your samples. Samples are training data we will use for our model. The samples in this particular tutorial are lists of in-range wifi networks and their associated strengths, frequencies, names etc.
function record(n, completion, hook) {
    ...
    samples = []
}
Define a recursive function startScan, which will asynchronously initiate wifi scans. Upon completion, the asynchronous wifi scan will then recursively invoke startScan.
function record(n, completion, hook) {
  ...
  function startScan(i) {
    wifi.scan(function(err, networks) {
    });
  }
  startScan(n);
}
In the wifi.scan callback, check for errors or empty lists of networks and restart the scan if so.
wifi.scan(function(err, networks) {
  if (err || networks.length == 0) {
    startScan(i);
    return
  }
});
Add the recursive function’s base case, which invokes the completion handler.
wifi.scan(function(err, networks) {
  ...
  if (i <= 0) {
    return completion({samples: samples});
  }
});
Output a progress update, append to the list of samples, and make the recursive call.
wifi.scan(function(err, networks) {
  ...
  hook(n-i+1, networks);
  samples.push(networks);
  startScan(i-1);
});
At the end of your file, invoke the record function with a callback that saves samples to a file on disk.
function record(completion) {
  ...
}

function cli() {
  record(1, function(data) {
    fs.writeFile('samples.json', JSON.stringify(data), 'utf8', function() {});
  }, function(i, networks) {
    console.log(" * [INFO] Collected sample " + (21-i) + " with " + networks.length + " networks");
  })
}

cli();
Double check that your file matches the following:
var wifi = require('node-wifi');
var fs = require('fs');

/**
 * Uses a recursive function for repeated scans, since scans are asynchronous.
 */
function record(n, completion, hook) {
  wifi.init({
      iface : null // network interface, choose a random wifi interface if set to null
  });

  samples = []
  function startScan(i) {
    wifi.scan(function(err, networks) {
        if (err || networks.length == 0) {
          startScan(i);
          return
        }
        if (i <= 0) {
          return completion({samples: samples});
        }
        hook(n-i+1, networks);
        samples.push(networks);
        startScan(i-1);
    });
  }

  startScan(n);
}

function cli() {
    record(1, function(data) {
        fs.writeFile('samples.json', JSON.stringify(data), 'utf8', function() {});
    }, function(i, networks) {
        console.log(" * [INFO] Collected sample " + i + " with " + networks.length + " networks");
    })
}

cli();
Save and exit. Run the script.
node scripts/observe.js
Your output will match the following, with variable numbers of networks.
* [INFO] Collected sample 1 with 39 networks
Examine the samples that were just collected. Pipe to json_pp to pretty print the JSON and pipe to head to view the first 16 lines.
cat samples.json | json_pp | head -16
The below is example output for a 2.4 GHz network.
{
  "samples": [
    [
      {
        "mac": "64:0f:28:79:9a:29",
        "bssid": "64:0f:28:79:9a:29",
        "ssid": "SMASHINGMAGAZINEROCKS",
         "channel": 4,
         "frequency": 2427,
          "signal_level": "-91",
          "security": "WPA WPA2",
          "security_flags": [
           "(PSK/AES,TKIP/TKIP)",
          "(PSK/AES,TKIP/TKIP)"
        ]
      },
This concludes your NodeJS wifi-scanning script. This allows us to view all in-range WiFi networks. In the next step, you will make this script accessible from the desktop app.
Step 3: Connect Scan Script To Desktop App
In this step, you will first add a button to the desktop app to trigger the script with. Then, you will update the desktop app UI with the script’s progress.
Open static/index.html.
nano static/index.html
Insert the “Add” button, as shown below.
<h1 class="title" id="predicted-room-name">(I dunno)</h1>
        <!-- start new code -->
        <div class="buttons">
            <a href="add.html" class="button">Add new room</a>
        </div>
        <!-- end new code -->
    </main>
Save and exit. Open static/add.html.
nano static/add.html
Paste the following content.
<!DOCTYPE html>
  <html>
    <head>
      <meta charset="UTF-8">
      <title>Riot | Add New Room</title>
      <link href="https://fonts.googleapis.com/css?family=Montserrat:400,700" rel="stylesheet">
      <link href="style.css" rel="stylesheet">
    </head>
    <body>
      <main>
        <h1 class="title" id="add-title">0</h1>
        <p class="subtitle">of <span>20</span> samples needed. Feel free to move around the room.</p>
        <input type="text" id="add-room-name" class="text-field" placeholder="(room name)">
        <div class="buttons">
          <a href="#" id="start-recording" class="button">Start recording</a>
          <a href="index.html" class="button light">Cancel</a>
        </div>
        <p class="text" id="add-status" style="display:none"></p>
      </main>
      <script>
        require('../scripts/observe.js')
      </script>
    </body>
  </html>
Save and exit. Reopen scripts/observe.js.
nano scripts/observe.js
Beneath the cli function, define a new ui function.
function cli() {
    ...
}

// start new code
function ui() {
}
// end new code

cli();
Update the desktop app status to indicate the function has started running.
function ui() {
  var room_name = document.querySelector('#add-room-name').value;
  var status = document.querySelector('#add-status');
  var number = document.querySelector('#add-title');
  status.style.display = "block"
  status.innerHTML = "Listening for wifi..."
}
Partition the data into training and validation data sets.
function ui() {
  ...
  function completion(data) {
    train_data = {samples: data['samples'].slice(0, 15)}
    test_data = {samples: data['samples'].slice(15)}
    var train_json = JSON.stringify(train_data);
    var test_json = JSON.stringify(test_data);
  }
}
Still within the completion callback, write both datasets to disk.
function ui() {
  ...
  function completion(data) {
    ...
    fs.writeFile('data/' + room_name + '_train.json', train_json, 'utf8', function() {});
    fs.writeFile('data/' + room_name + '_test.json', test_json, 'utf8', function() {});
    console.log(" * [INFO] Done")
    status.innerHTML = "Done."
  }
}
Invoke record with the appropriate callbacks to record 20 samples and save the samples to disk.
function ui() {
  ...
  function completion(data) {
    ...
  }
  record(20, completion, function(i, networks) {
    number.innerHTML = i
    console.log(" * [INFO] Collected sample " + i + " with " + networks.length + " networks")
  })
}
Finally, invoke the cli and ui functions where appropriate. Start by deleting the cli(); call at the bottom of the file.
function ui() {
    ...
}

cli();  // remove me
Check if the document object is globally accessible. If not, the script is being run from the command line. In this case, invoke the cli function. If it is, the script is loaded from within the desktop app. In this case, bind the click listener to the ui function.
if (typeof document == 'undefined') {
    cli();
} else {
    document.querySelector('#start-recording').addEventListener('click', ui)
}
Save and exit. Create a directory to hold our data.
mkdir data
Launch the desktop app.
npm start
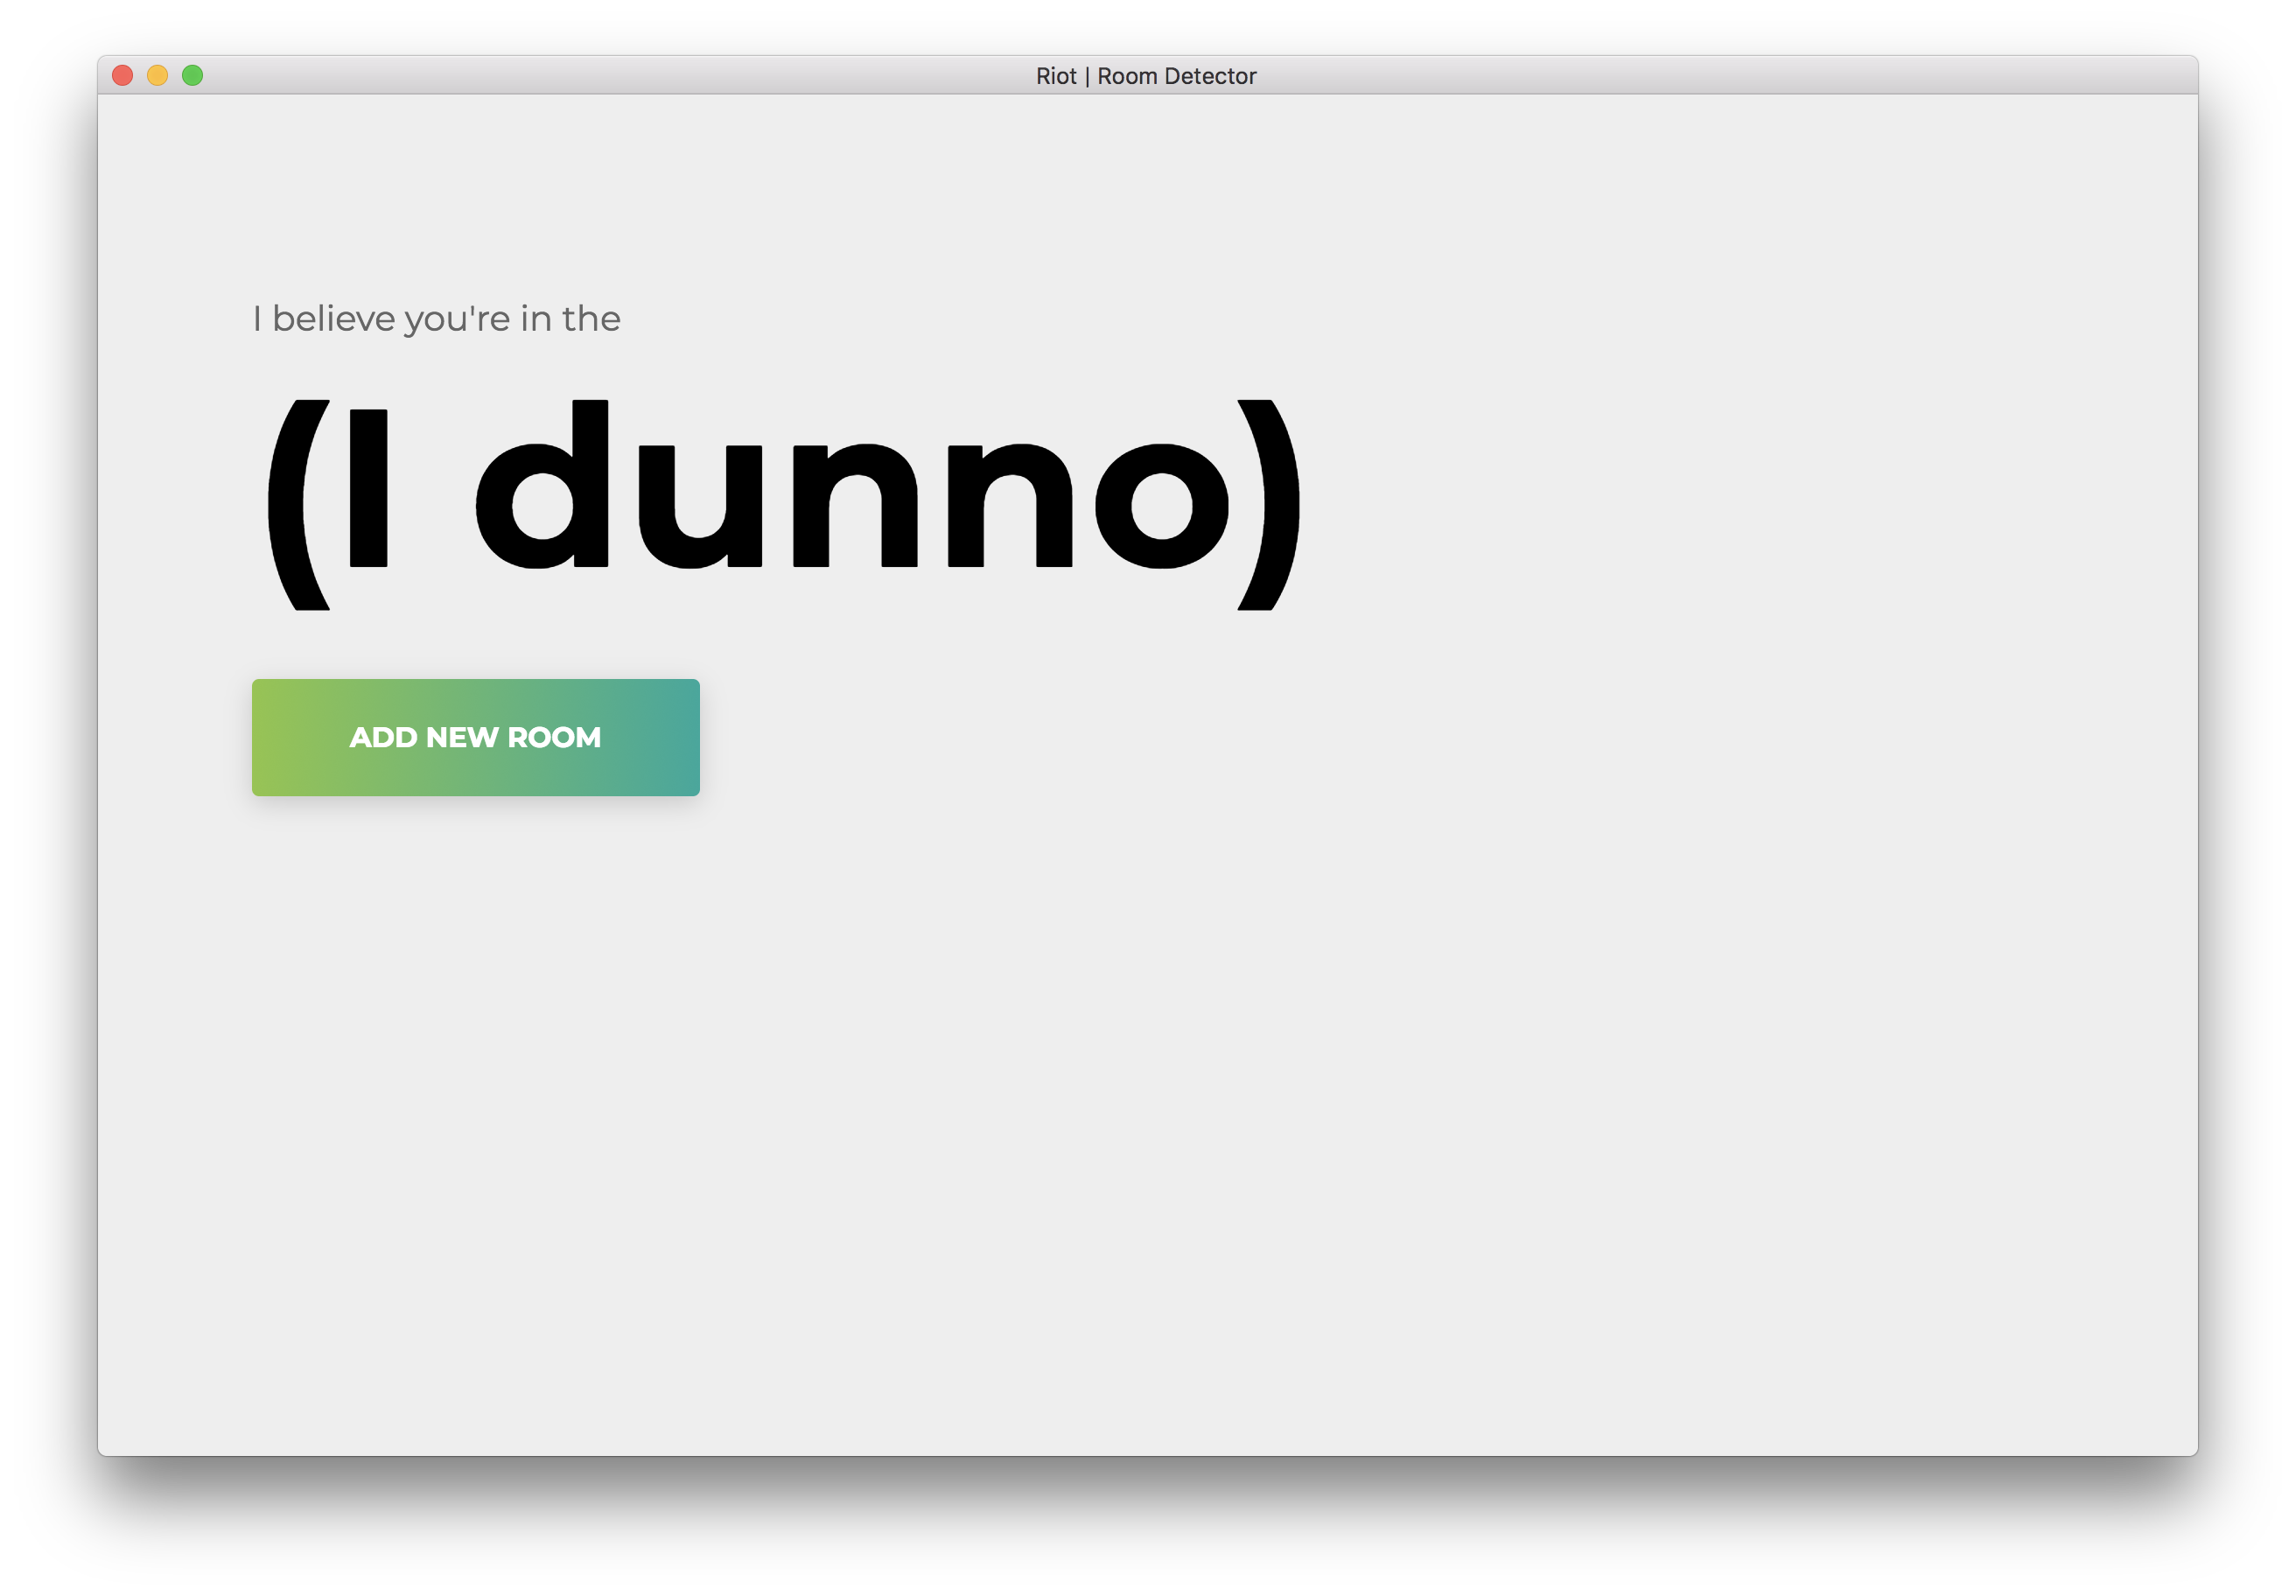
You will see the following homepage. Click on “Add room”.
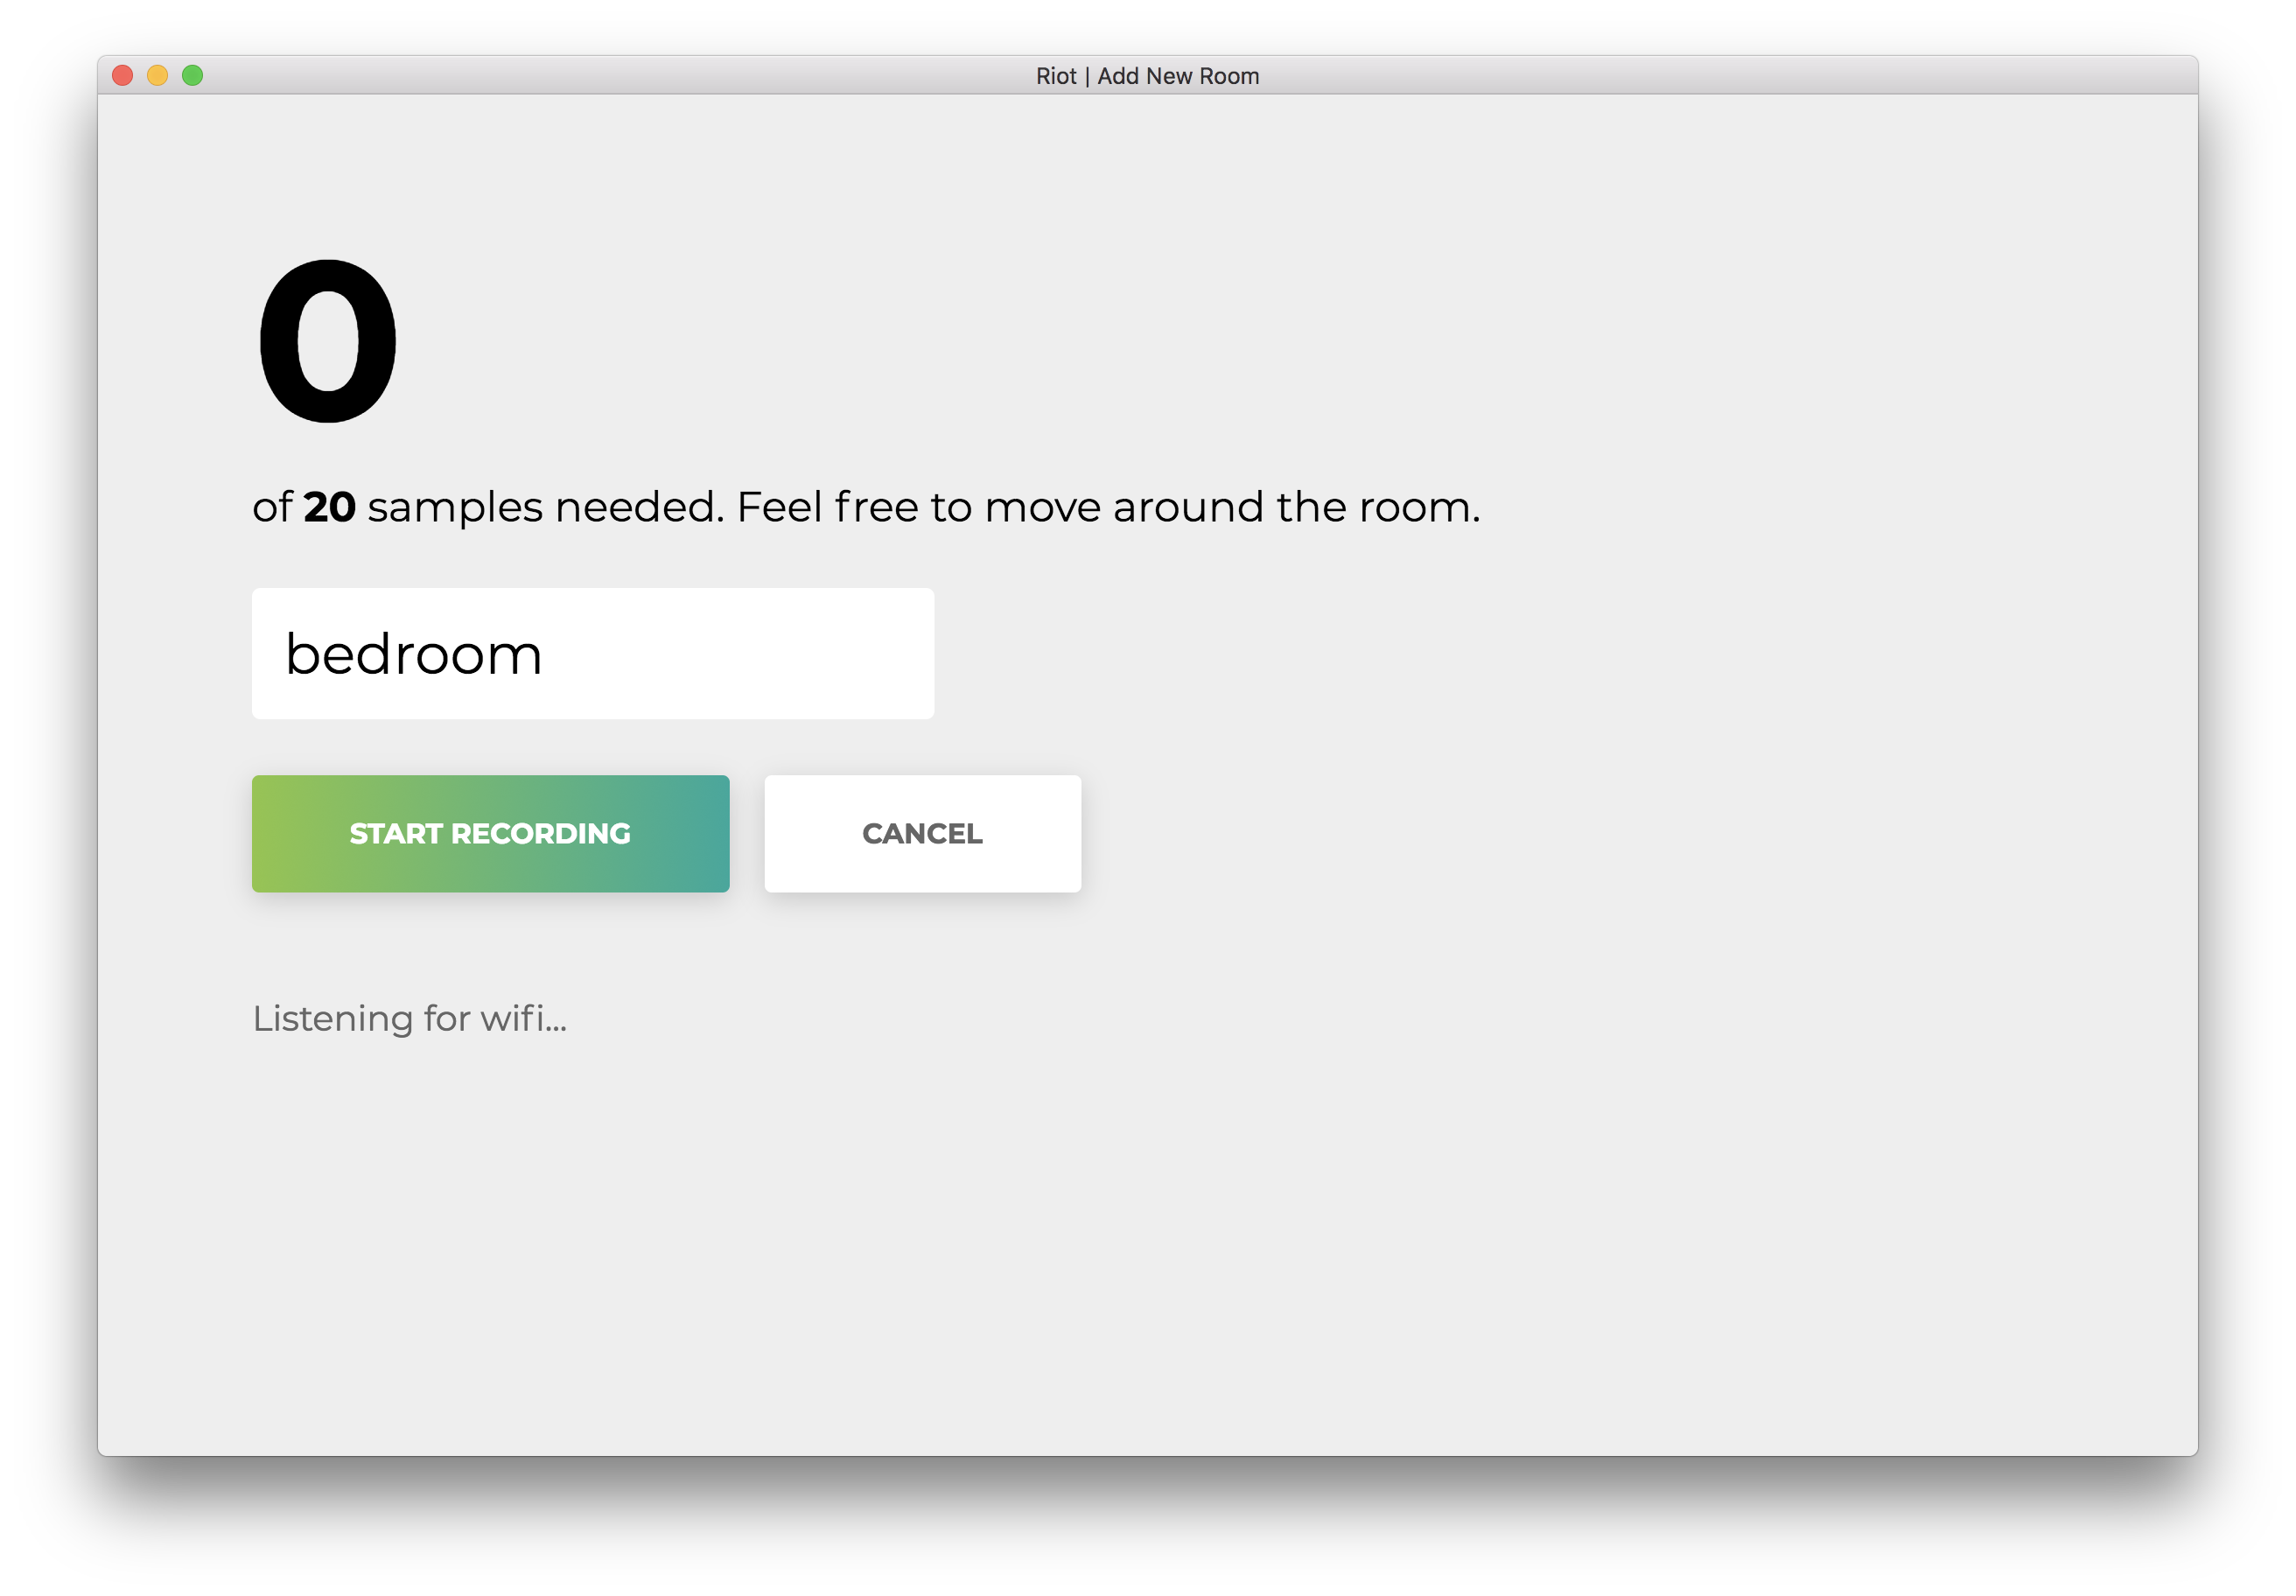
You will see the following form. Type in a name for the room. Remember this name, as we will use this later on. Our example will be bedroom.

Click “Start recording,” and you will see the following status “Listening for wifi…”.
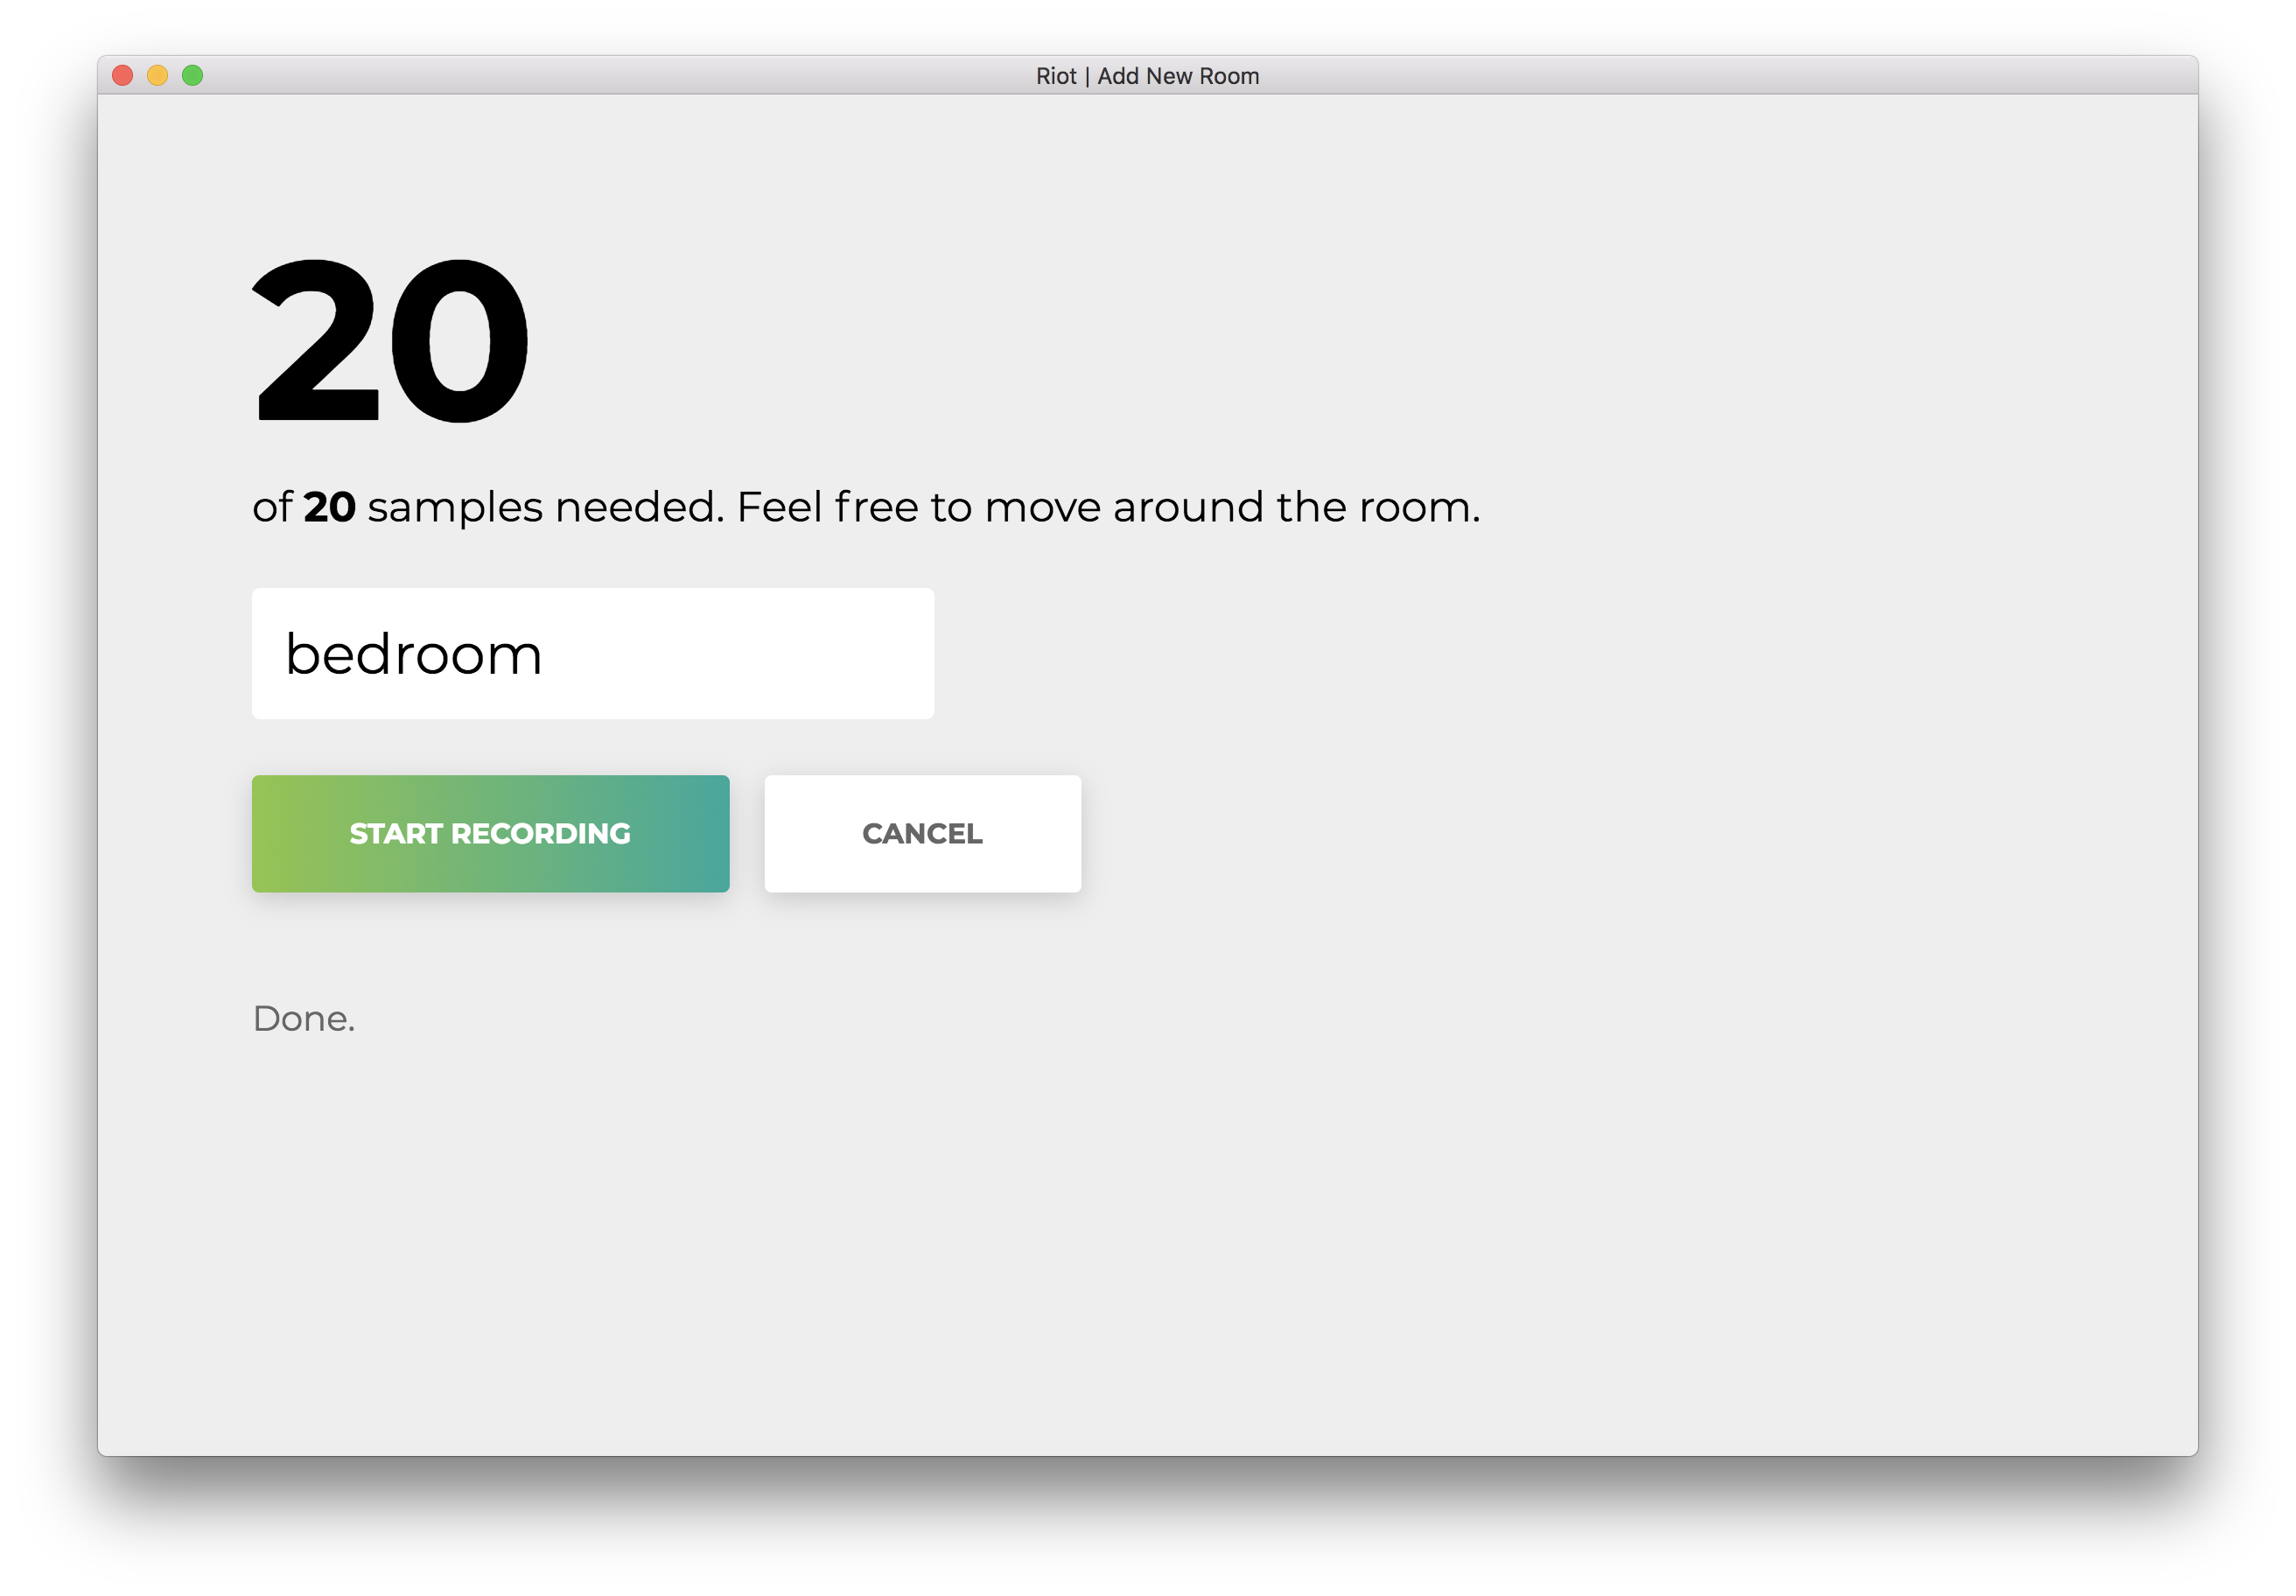
Once all 20 samples are recorded, your app will match the following. The status will read “Done.”
Click on the misnamed “Cancel” to return to the homepage, which matches the following.
We can now scan wifi networks from the desktop UI, which will save all recorded samples to files on disk. Next, we will train an out-of-box machine learning algorithm-least squares on the data you have collected.
Step 4: Write Python Training Script
In this step, we will write a training script in Python. Create a directory for your training utilities.
mkdir model
Open model/train.py
nano model/train.py
At the top of your file, import the numpy computational library and scipy for its least squares model.
import numpy as np
from scipy.linalg import lstsq
import json
import sys
The next three utilities will handle loading and setting up data from the files on disk. Start by adding a utility function that flattens nested lists. You will use this to flatten a list of list of samples.
import sys

def flatten(list_of_lists):
    """Flatten a list of lists to make a list.
    >>> flatten([[1], [2], [3, 4]])
    [1, 2, 3, 4]
    """
    return sum(list_of_lists, [])
Add a second utility that loads samples from the specified files. This method abstracts away the fact that samples are spread out across multiple files, returning just a single generator for all samples. For each of the samples, the label is the index of the file. e.g., If you call get_all_samples('a.json', 'b.json'), all samples in a.json will have label 0 and all samples in b.json will have label 1.
def get_all_samples(paths):
  """Load all samples from JSON files."""
  for label, path in enumerate(paths):
  with open(path) as f:
    for sample in json.load(f)['samples']:
      signal_levels = [
        network['signal_level'].replace('RSSI', '') or 0
        for network in sample]
      yield [network['mac'] for network in sample], signal_levels, label
Next, add a utility that encodes the samples using a bag-of-words-esque model. Here is an example: Assume we collect two samples.
- wifi network A at strength 10 and wifi network B at strength 15
- wifi network B at strength 20 and wifi network C at strength 25.
This function will produce a list of three numbers for each of the samples: the first value is the strength of wifi network A, the second for network B, and the third for C. In effect, the format is [A, B, C].
- [10, 15, 0]
- [0, 20, 25]
def bag_of_words(all_networks, all_strengths, ordering):
  """Apply bag-of-words encoding to categorical variables.

  >>> samples = bag_of_words(
  ...     [['a', 'b'], ['b', 'c'], ['a', 'c']],
  ...     [[1, 2], [2, 3], [1, 3]],
  ...     ['a', 'b', 'c'])
  >>> next(samples)
  [1, 2, 0]
  >>> next(samples)
  [0, 2, 3]
  """
  for networks, strengths in zip(all_networks, all_strengths):
    yield [strengths[networks.index(network)]
      if network in networks else 0
      for network in ordering]
Using all three utilities above, we synthesize a collection of samples and their labels. Gather all samples and labels using get_all_samples. Define a consistent format ordering to one-hot encode all samples, then apply one_hot encoding to samples. Finally, construct the data and label matrices X and Y respectively.
def create_dataset(classpaths, ordering=None):
  """Create dataset from a list of paths to JSON files."""
  networks, strengths, labels = zip(*get_all_samples(classpaths))
  if ordering is None:
    ordering = list(sorted(set(flatten(networks))))
  X = np.array(list(bag_of_words(networks, strengths, ordering))).astype(np.float64)
  Y = np.array(list(labels)).astype(np.int)
  return X, Y, ordering
These functions complete the data pipeline. Next, we abstract away model prediction and evaluation. Start by defining the prediction method. The first function normalizes our model outputs, so that the sum of all values totals to 1 and that all values are non-negative; this ensures that the output is a valid probability distribution. The second evaluates the model.
def softmax(x):
  """Convert one-hotted outputs into probability distribution"""
  x = np.exp(x)
  return x / np.sum(x)

def predict(X, w):
  """Predict using model parameters"""
  return np.argmax(softmax(X.dot(w)), axis=1)
Next, evaluate the model’s accuracy. The first line runs prediction using the model. The second counts the numbers of times both predicted and true values agree, then normalizes by the total number of samples.
def evaluate(X, Y, w):
  """Evaluate model w on samples X and labels Y."""
  Y_pred = predict(X, w)
  accuracy = (Y == Y_pred).sum() / X.shape[0]
  return accuracy
This concludes our prediction and evaluation utilities. After these utilities, define a main function that will collect the dataset, train, and evaluate. Start by reading the list of arguments from the command line sys.argv; these are the rooms to include in training. Then create a large dataset from all of the specified rooms.
def main():
  classes = sys.argv[1:]

  train_paths = sorted(['data/{}_train.json'.format(name) for name in classes])
  test_paths = sorted(['data/{}_test.json'.format(name) for name in classes])
  X_train, Y_train, ordering = create_dataset(train_paths)
  X_test, Y_test, _ = create_dataset(test_paths, ordering=ordering)
Apply one-hot encoding to the labels. A one-hot encoding is similar to the bag-of-words model above; we use this encoding to handle categorical variables. Say we have 3 possible labels. Instead of labelling 1, 2, or 3, we label the data with [1, 0, 0], [0, 1, 0], or [0, 0, 1]. For this tutorial, we will spare the explanation for why one-hot encoding is important. Train the model, and evaluate on both the train and validation sets.
def main():
  ...
  X_test, Y_test, _ = create_dataset(test_paths, ordering=ordering)

  Y_train_oh = np.eye(len(classes))[Y_train]
  w, _, _, _ = lstsq(X_train, Y_train_oh)
  train_accuracy = evaluate(X_train, Y_train, w)
  test_accuracy = evaluate(X_test, Y_test, w)
Print both accuracies, and save the model to disk.
def main():
  ...
  print('Train accuracy ({}%), Validation accuracy ({}%)'.format(train_accuracy*100, test_accuracy*100))
  np.save('w.npy', w)
  np.save('ordering.npy', np.array(ordering))
  sys.stdout.flush()
At the end of the file, run the main function.
if __name__ == '__main__':
  main()
Save and exit. Double check that your file matches the following:
import numpy as np
from scipy.linalg import lstsq
import json
import sys

def flatten(list_of_lists):
    """Flatten a list of lists to make a list.
    >>> flatten([[1], [2], [3, 4]])
    [1, 2, 3, 4]
    """
    return sum(list_of_lists, [])

def get_all_samples(paths):
    """Load all samples from JSON files."""
    for label, path in enumerate(paths):
        with open(path) as f:
            for sample in json.load(f)['samples']:
                signal_levels = [
                    network['signal_level'].replace('RSSI', '') or 0
                    for network in sample]
                yield [network['mac'] for network in sample], signal_levels, label

def bag_of_words(all_networks, all_strengths, ordering):
    """Apply bag-of-words encoding to categorical variables.
    >>> samples = bag_of_words(
    ...     [['a', 'b'], ['b', 'c'], ['a', 'c']],
    ...     [[1, 2], [2, 3], [1, 3]],
    ...     ['a', 'b', 'c'])
    >>> next(samples)
    [1, 2, 0]
    >>> next(samples)
    [0, 2, 3]
    """
    for networks, strengths in zip(all_networks, all_strengths):
        yield [int(strengths[networks.index(network)])
            if network in networks else 0
            for network in ordering]

def create_dataset(classpaths, ordering=None):
    """Create dataset from a list of paths to JSON files."""
    networks, strengths, labels = zip(*get_all_samples(classpaths))
    if ordering is None:
        ordering = list(sorted(set(flatten(networks))))
    X = np.array(list(bag_of_words(networks, strengths, ordering))).astype(np.float64)
    Y = np.array(list(labels)).astype(np.int)
    return X, Y, ordering

def softmax(x):
    """Convert one-hotted outputs into probability distribution"""
    x = np.exp(x)
    return x / np.sum(x)

def predict(X, w):
    """Predict using model parameters"""
    return np.argmax(softmax(X.dot(w)), axis=1)

def evaluate(X, Y, w):
    """Evaluate model w on samples X and labels Y."""
    Y_pred = predict(X, w)
    accuracy = (Y == Y_pred).sum() / X.shape[0]
    return accuracy

def main():
    classes = sys.argv[1:]

    train_paths = sorted(['data/{}_train.json'.format(name) for name in classes])
    test_paths = sorted(['data/{}_test.json'.format(name) for name in classes])
    X_train, Y_train, ordering = create_dataset(train_paths)
    X_test, Y_test, _ = create_dataset(test_paths, ordering=ordering)

    Y_train_oh = np.eye(len(classes))[Y_train]
    w, _, _, _ = lstsq(X_train, Y_train_oh)
    train_accuracy = evaluate(X_train, Y_train, w)
    validation_accuracy = evaluate(X_test, Y_test, w)

    print('Train accuracy ({}%), Validation accuracy ({}%)'.format(train_accuracy*100, validation_accuracy*100))
    np.save('w.npy', w)
    np.save('ordering.npy', np.array(ordering))
    sys.stdout.flush()

if __name__ == '__main__':
    main()
Save and exit. Recall the room name used above when recording the 20 samples. Use that name instead of bedroom below. Our example is bedroom. We use -W ignore to ignore warnings from a LAPACK bug.
python -W ignore model/train.py bedroom
Since we’ve only collected training samples for one room, you should see 100% training and validation accuracies.
Train accuracy (100.0%), Validation accuracy (100.0%)
Next, we will link this training script to the desktop app.
Step 5: Link Train Script
In this step, we will automatically retrain the model whenever the user collects a new batch of samples. Open scripts/observe.js.
nano scripts/observe.js
Right after the fs import, import the child process spawner and utilities.
var fs = require('fs');
// start new code
const spawn = require("child_process").spawn;
var utils = require('./utils.js');
In the ui function, add the following call to retrain at the end of the completion handler.
function ui() {
  ...
  function completion() {
    ...
    retrain((data) => {
      var status = document.querySelector('#add-status');
      accuracies = data.toString().split('\n')[0];
      status.innerHTML = "Retraining succeeded: " + accuracies
    });
  }
    ...
}
After the ui function, add the following retrain function. This spawns a child process that will run the python script. Upon completion, the process calls a completion handler. Upon failure, it will log the error message.
function ui() {
  ..
}

function retrain(completion) {
  var filenames = utils.get_filenames()
  const pythonProcess = spawn('python', ["./model/train.py"].concat(filenames));
  pythonProcess.stdout.on('data', completion);
  pythonProcess.stderr.on('data', (data) => {
    console.log(" * [ERROR] " + data.toString())
  })
}
Save and exit. Open scripts/utils.js.
nano scripts/utils.js
Add the following utility for fetching all datasets in data/.
var fs = require('fs');

module.exports = {
  get_filenames: get_filenames
}

function get_filenames() {
  filenames = new Set([]);
  fs.readdirSync("data/").forEach(function(filename) {
      filenames.add(filename.replace('_train', '').replace('_test', '').replace('.json', '' ))
  });
  filenames = Array.from(filenames.values())
  filenames.sort();
  filenames.splice(filenames.indexOf('.DS_Store'), 1)
  return filenames
}
Save and exit. For the conclusion of this step, physically move to a new location. There ideally should be a wall between your original location and your new location. The more barriers, the better your desktop app will work.
Once again, run your desktop app.
npm start
Just as before, run the training script. Click on “Add room”.
Type in a room name that is different from your first room’s. We will use living room.
Click “Start recording,” and you will see the following status “Listening for wifi…”.

Once all 20 samples are recorded, your app will match the following. The status will read “Done. Retraining model…”

In the next step, we will use this retrained model to predict the room you’re in, on the fly.
Step 6: Write Python Evaluation Script
In this step, we will load the pretrained model parameters, scan for wifi networks, and predict the room based on the scan.
Open model/eval.py.
nano model/eval.py
Import libraries used and defined in our last script.
import numpy as np
import sys
import json
import os
import json

from train import predict
from train import softmax
from train import create_dataset
from train import evaluate
Define a utility to extract the names of all datasets. This function assumes that all datasets are stored in data/ as <dataset>_train.json and <dataset>_test.json.
from train import evaluate

def get_datasets():
  """Extract dataset names."""
  return sorted(list({path.split('_')[0] for path in os.listdir('./data')
    if '.DS' not in path}))
Define the main function, and start by loading parameters saved from the training script.
def get_datasets():
  ...

def main():
  w = np.load('w.npy')
  ordering = np.load('ordering.npy')
Create the dataset and predict.
def main():
  ...
  classpaths = [sys.argv[1]]
  X, _, _ = create_dataset(classpaths, ordering)
  y = np.asscalar(predict(X, w))
Compute a confidence score based on the difference between the top two probabilities.
def main():
  ...
  sorted_y = sorted(softmax(X.dot(w)).flatten())
  confidence = 1
  if len(sorted_y) > 1:
    confidence = round(sorted_y[-1] - sorted_y[-2], 2)
Finally, extract the category and print the result. To conclude the script, invoke the main function.
def main()
  ...
  category = get_datasets()[y]
  print(json.dumps({"category": category, "confidence": confidence}))

if __name__ == '__main__':
  main()
Save and exit. Double check your code matches the following (source code):
import numpy as np
import sys
import json
import os
import json

from train import predict
from train import softmax
from train import create_dataset
from train import evaluate

def get_datasets():
    """Extract dataset names."""
    return sorted(list({path.split('_')[0] for path in os.listdir('./data')
        if '.DS' not in path}))

def main():
    w = np.load('w.npy')
    ordering = np.load('ordering.npy')

    classpaths = [sys.argv[1]]
    X, _, _ = create_dataset(classpaths, ordering)
    y = np.asscalar(predict(X, w))

    sorted_y = sorted(softmax(X.dot(w)).flatten())
    confidence = 1
    if len(sorted_y) > 1:
        confidence = round(sorted_y[-1] - sorted_y[-2], 2)

    category = get_datasets()[y]
    print(json.dumps({"category": category, "confidence": confidence}))

if __name__ == '__main__':
    main()
Next, we will connect this evaluation script to the desktop app. The desktop app will continuously run wifi scans and update the UI with the predicted room.
Step 7: Connect Evaluation To Desktop App
In this step, we will update the UI with a “confidence” display. Then, the associated NodeJS script will continuously run scans and predictions, updating the UI accordingly.
Open static/index.html.
nano static/index.html
Add a line for confidence right after the title and before the buttons.
<h1 class="title" id="predicted-room-name">(I dunno)</h1>
<!-- start new code -->
<p class="subtitle">with <span id="predicted-confidence">0%</span> confidence</p>
<!-- end new code -->
<div class="buttons">
Right after main but before the end of the body, add a new script predict.js.
</main>
  <!-- start new code -->
  <script>
  require('../scripts/predict.js')
  </script>
  <!-- end new code -->
</body>
Save and exit. Open scripts/predict.js.
nano scripts/predict.js
Import the needed NodeJS utilities for the filesystem, utilities, and child process spawner.
var fs = require('fs');
var utils = require('./utils');
const spawn = require("child_process").spawn;
Define a predict function which invokes a separate node process to detect wifi networks and a separate Python process to predict the room.
function predict(completion) {
  const nodeProcess = spawn('node', ["scripts/observe.js"]);
  const pythonProcess = spawn('python', ["-W", "ignore", "./model/eval.py", "samples.json"]);
}
After both processes have spawned, add callbacks to the Python process for both successes and errors. The success callback logs information, invokes the completion callback, and updates the UI with the prediction and confidence. The error callback logs the error.
function predict(completion) {
  ...
  pythonProcess.stdout.on('data', (data) => {
    information = JSON.parse(data.toString());
    console.log(" * [INFO] Room '" + information.category + "' with confidence '" + information.confidence + "'")
    completion()

    if (typeof document != "undefined") {
      document.querySelector('#predicted-room-name').innerHTML = information.category
      document.querySelector('#predicted-confidence').innerHTML = information.confidence
    }
  });
  pythonProcess.stderr.on('data', (data) => {
    console.log(data.toString());
  })
}
Define a main function to invoke the predict function recursively, forever.
function main() {
  f = function() { predict(f) }
  predict(f)
}

main();
One last time, open the desktop app to see the live prediction.
npm start
Approximately every second, a scan will be completed and the interface will be updated with the latest confidence and predicted room. Congratulations; you have completed a simple room detector based on all in-range WiFi networks.
Conclusion
In this tutorial, we created a solution using only your desktop to detect your location within a building. We built a simple desktop app using Electron JS and applied a simple machine learning method on all in-range WiFi networks. This paves the way for Internet-of-things applications without the need for arrays of devices that are costly to maintain (cost not in terms of money but in terms of time and development).
Note: You can see the source code in its entirety on Github.
With time, you may find that this least squares does not perform spectacularly in fact. Try finding two locations within a single room, or stand in doorways. Least squares will be large unable to distinguish between edge cases. Can we do better? It turns out that we can, and in future lessons, we will leverage other techniques and the fundamentals of machine learning to better performance. This tutorial serves as a quick test bed for experiments to come.
Further Reading
- The Rise Of Intelligent Conversational UI
- Applications Of Machine Learning For Designers
- How To Prototype IoT Experiences: Building The Hardware
- Read ‘Designing For The Internet Of Emotional Things


